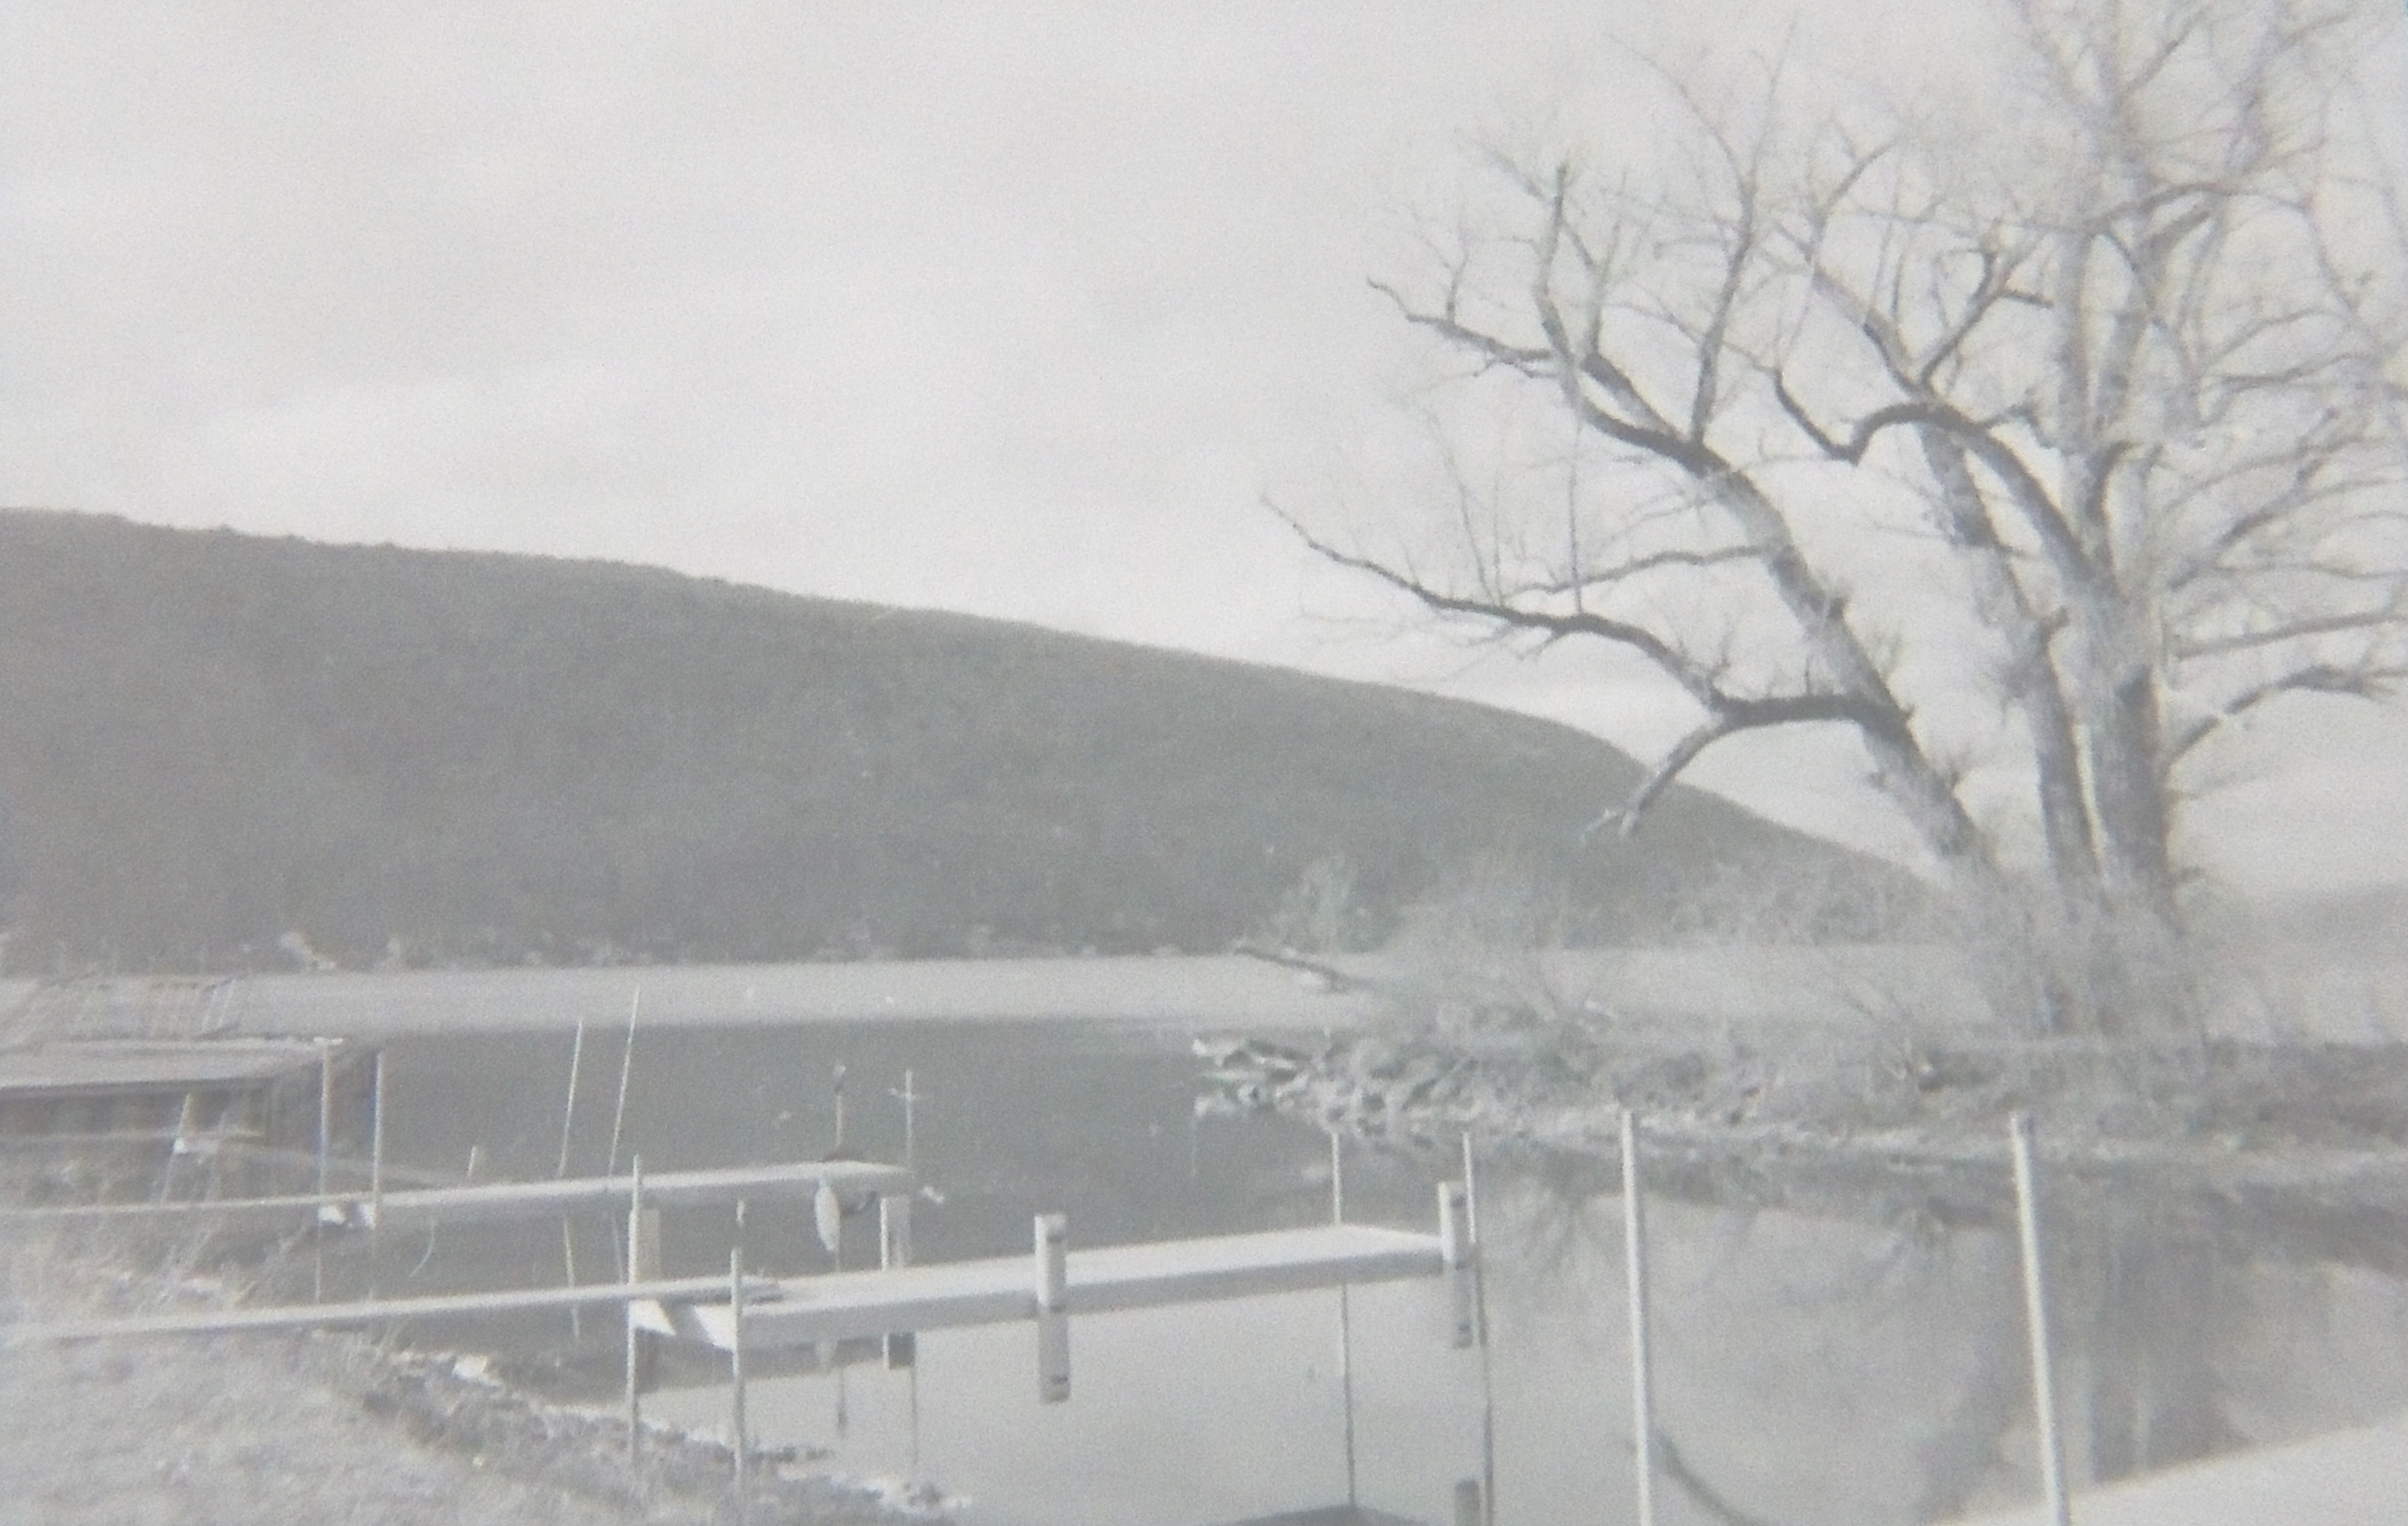
I tried to make as cheap a setup as possible for shooting and developing 35mm black and white film.
Let me preface this by saying that the real cheapest way to shoot black and white film is to get a disposable single use camera like the Ilford HP5 Plus for $13.99 with free shipping and call it a day. However, those are a. Single use only, and b. some of the worst film cameras you can get and not all that fun to use, in my opinion.
The first step I took was looking at the absolute cheapest film possible per exposure. The cheapest option on this front would be bulk loading a film like Arista Ultra 400, working out to about 9 cents per exposure (720 exposures per 100 feet, $63.99 ÷ 720 = $0.089). However, I wanted the cheapest setup to get my foot in the door, as opposed to long term value. To do this, I bought a 36 exposure roll of Kentmere Pan 400 film for $5.49. I could have saved 50 cents if I had bought a 24 exposure roll of Holga 400, however, the price per exposure jumps up to 21 cents, as opposed to the 15 cents per exposure of the Kentmere. I figured that I would be willing to spend 50 more cents for significantly better value.
The next step is the camera. Now I splurged quite a bit on this, a bit too much for what I got, but I got a Canon Sure Shot AF-7 for $32.40 online (after shipping/taxes). This is a reloadable point and shoot camera that isn't very good. Your best bet is likely asking older friends or relatives if they have any film cameras they don't use anymore (DON'T PUSH THEM! IT'S THEIR CAMERA!) to get a free one. Chances are, if they have a film camera, it's 35mm. Alternatively, you could scout your local thrift shops to get a cheap one.
The third step is to buy the chemicals. The absolute cheapest option here would be to buy a monobath, like CineStill DF96, which features both a developer and fixer for $19.99, plus $5 shipping to my house. However, I really wouldn't recommend this as it's just not as fun, experimental, or creative as buying developer and fixer separately. For my developer, I bought 500mL of R09 Rodinal for $15 and 500mL of Ilford Rapid Fixer for $11. Since these two chemicals were in the same order, I paid $8.99 shipping in total to get both of them. The total after tax/shipping was $35.00. The shipping really added up the costs, and in hindsight I probably would have gotten an even smaller amount of Rodinal, given how much of it you use per roll (a tiny amount), and how long it lasts. If you are reading closely, you may have noticed that I didn't buy a stop bath, that's because water can be a stop bath! If you really want to save resources, you can totally skip the stop bath at risk of less predictable results. For my chosen dilution of Rodinal (1+50), I should be able to get 83 rolls out of my developer (6mL rodinal for a 290mL Paterson tank, 500 ÷ 6 = 83), and for my fixer I can get 206 rolls done with the whole bottle (1+4 dilution of 58mL fixer, can be reused 24 times. 24 * (500mL ÷ 58mL) = 206). These work out to 29 cents per roll for the developer and 10 cents per roll for the fixer (prices calculated after shipping). If I had used 1+100 dilution for the developer, I could have halved the per-roll cost to 15 cents, however I've heard that 1+100 is less reliable than 1+50 for newbies, so I just stuck with 1+50.
The fourth step is to buy the development tank. I bought the Paterson Super System 4 35mm Daylight Tank for $29.03 with free shipping. This tank has a lightproof funnel and comes with a 35mm reel. Ordering this in conjunction with my Kentmere Pan 400 film led to me getting free shipping on both items. Nice!
Now that everything has arrived, let's see how much I paid in total. $35 + ($5.49 + $29.03) + $32.40 = $101.92. Yeesh, a bit more than I expected. I think I could have saved more money by using a developer like D-76 and using the friend/relative or thrift store route for getting a camera.
I developed my film with 1+50 Rodinal dilution (the minimum recommended dilution on the bottle) and 1+4 fixer dilution (the recommended film dilution on the bottle). Using a Dilution Calculator, I found that I needed to use 6mL of Rodinal and 284mL water for my 290mL tank, and 58mL fixer with 232mL of water. I can't reuse my rodinal, however I can thankfully reuse my fixer mixture 24 times according to Ilford.
I followed This guide in terms of technique and order, and I used the Massive Dev Chart for my timings. I didn't modify any temperatures and just kept everything at room temperature, which was convienently around 68F (20C), which is the recommended temperature for almost all black and white film development I've seen. I've read that temperature precision isn't super important for B&W film development as long as you're not super far off, so I wasn't bothered. If I was off by a few degrees, I would have used their Time/Temp Converter tool.
